The world of raspberry pi has grown in leaps and bounds over the years. From education, to hobbyists, to professionals it seems more and more people are finding uses for the mini computer known as the raspberry pi.
If you would like to check out a video review of this item watch it here:
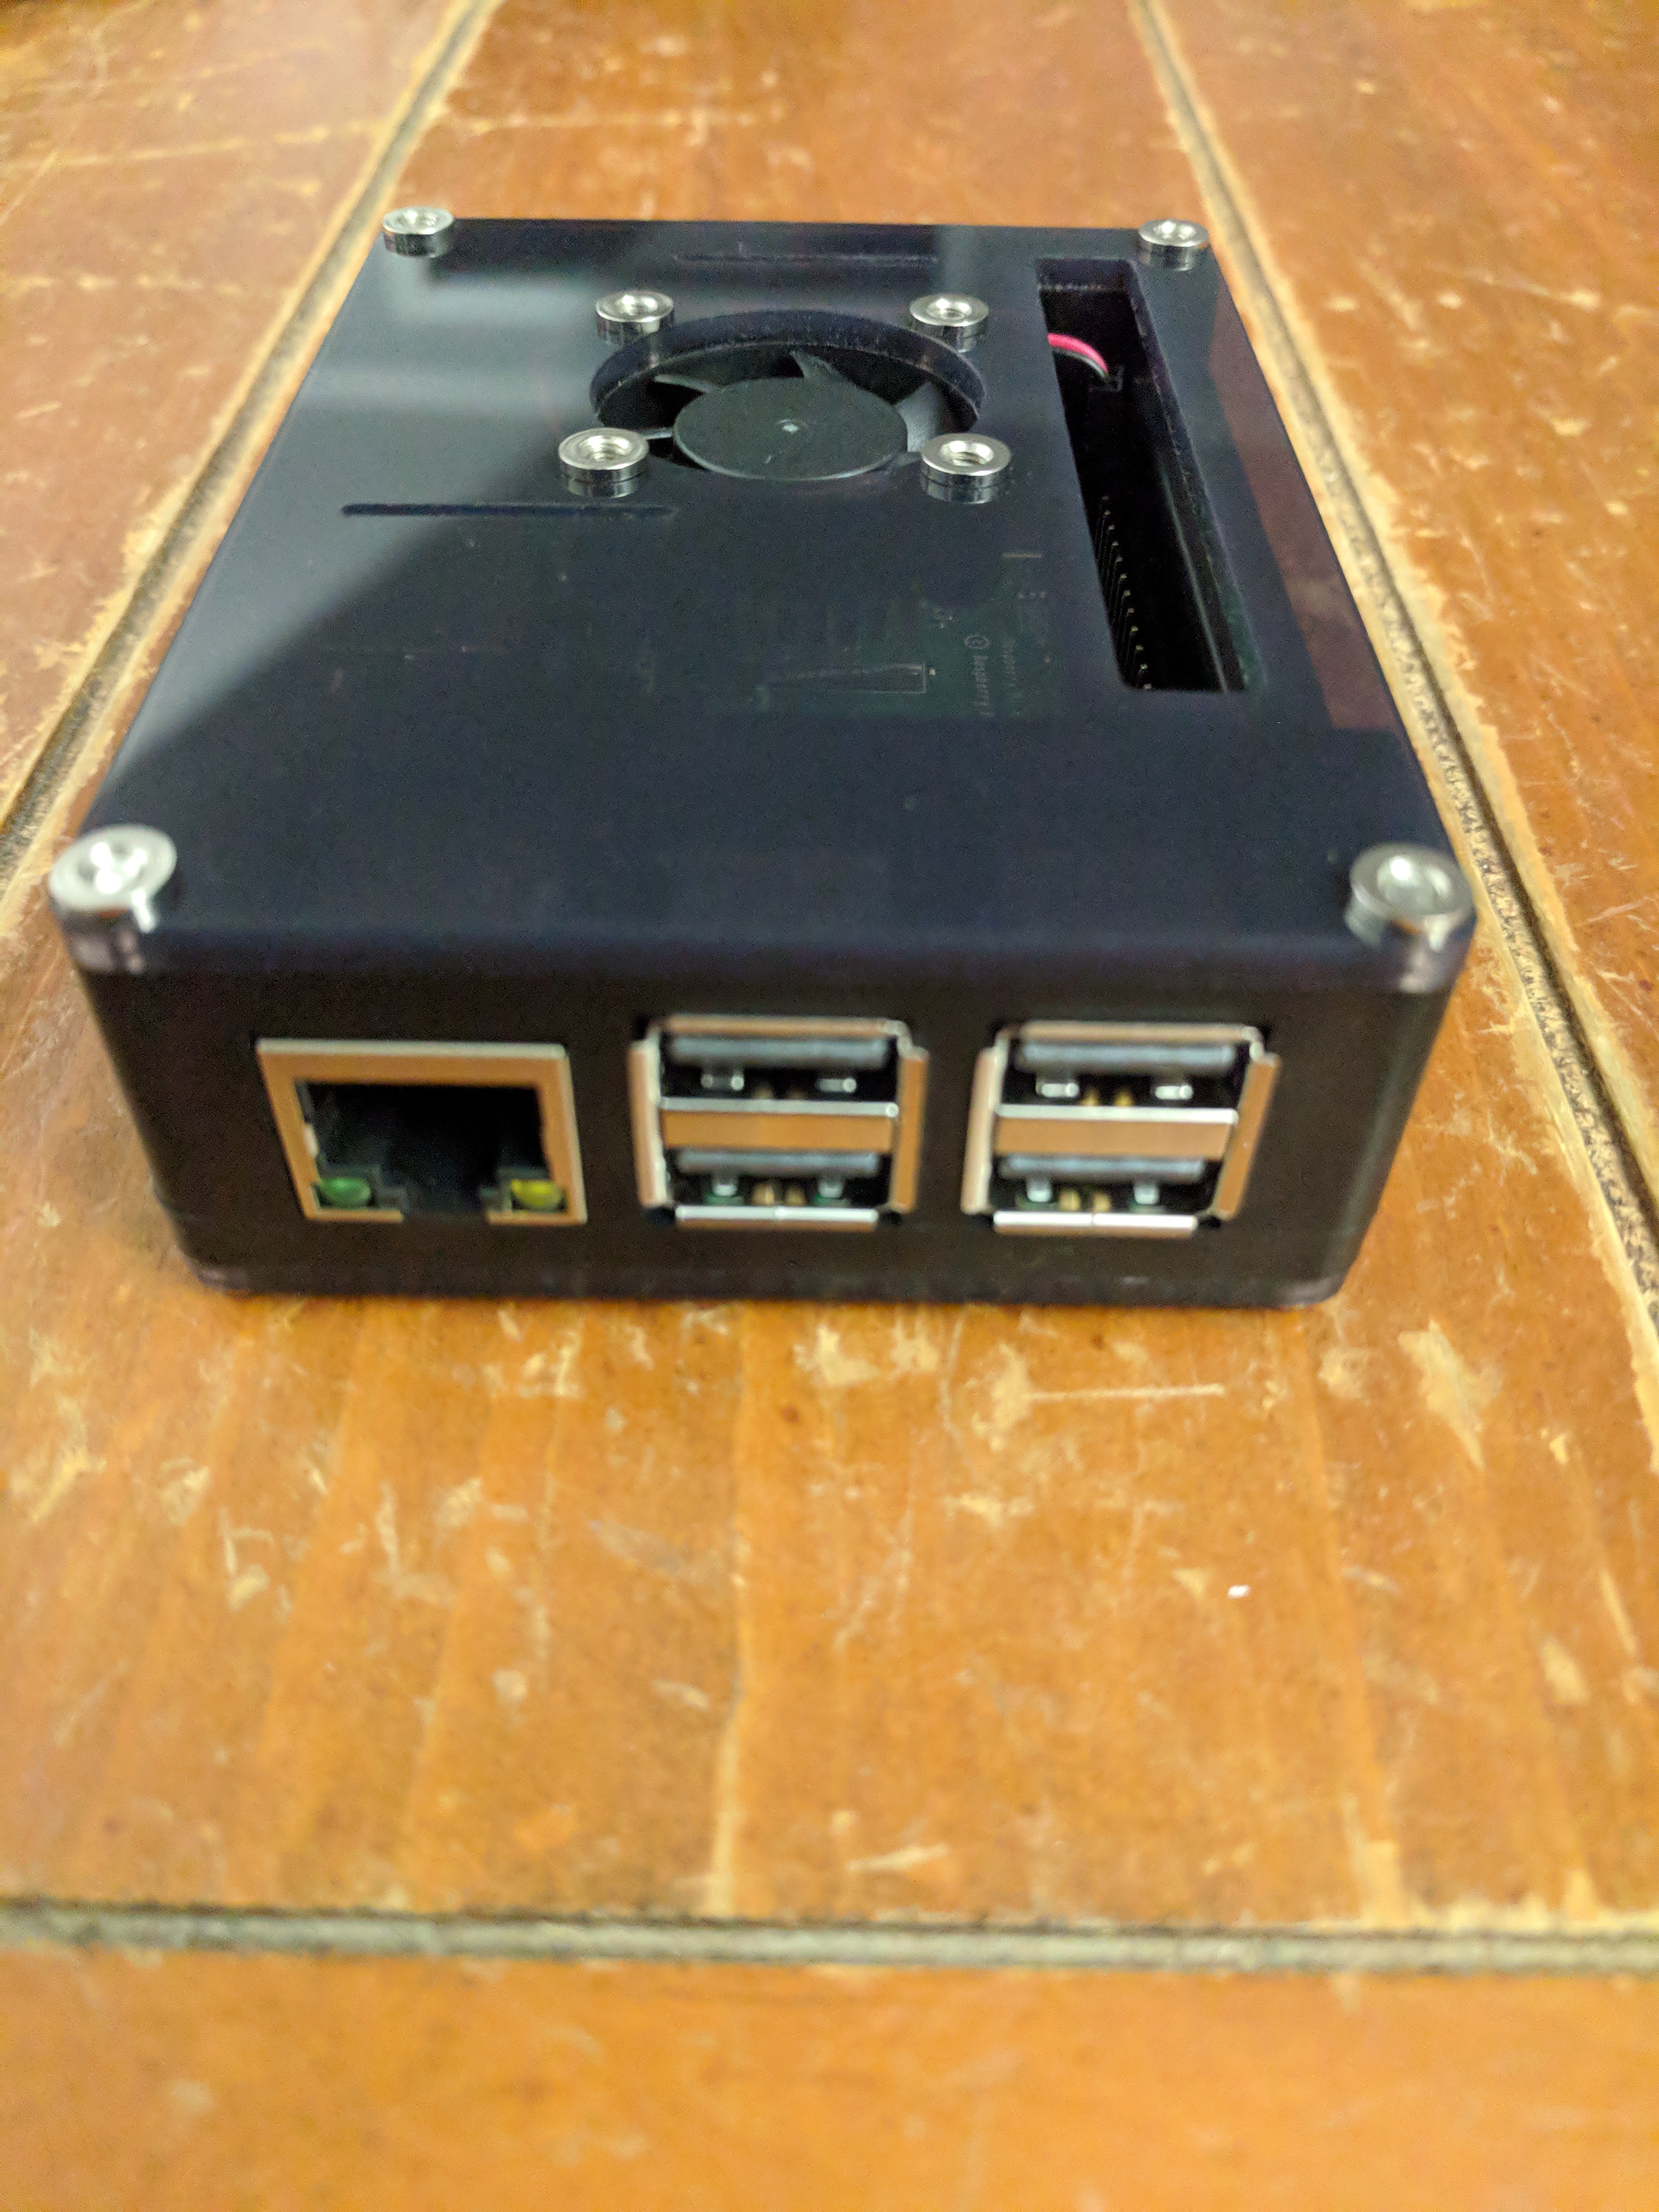
Smraza has released a new case that fits the Raspberry Pi 3 Model B+ and is a big improvement over previous models. This model is the SW33:


For starters the case includes both a mini Philips screwdriver for the screws of the base but also little rubber feet. The screwdriver is a nice addition as not everyone may have the proper size (specially a young hobbyist just starting out). While the rubber feet have been included in previous models from smraza, not all of them have included them so they were a nice surprise.

A change from what is typically included by smraza is the power supply. The old models included a USB power supply and a USB cable with power toggle. The new model includes an all in one power supply and cable with power toggle.

Another big change is moving away from traditional screw and nuts to a nicer looked recessed “nut”. This provides a cleaner looking case and makes installation a lot easier. These are included for both the fan and case body itself. One concern is that I’m not sure the fan guards I purchased will work with these new recessed “nuts” I’ll have to find out when they arrive.
The heatsinks that ship with the case are the same quality as the other cases and include 2 14mm heatsinks and 1 9mm heatsink with thermal adhesive on the back. This model ships with silver heat sinks. The fan included is of similar quality that smraza ships with it’s other cases.


Now onto the really important part, the case! The SW33 features only 4 total layers, this is different then previous models that included 7. The reduced number of layers makes installation so much more easier and while you do lose some visual customize possibilities like with the SW20-BF the ease of installation makes it worthwhile in my book.
Installation is super simple!

First insert the raspberry pi into the second layer from the top.
Next install the heatsinks on the top of the board. Wait on the bottom heat sink until later.

Then put the third layer from the bottom over the raspberry pi and connect it to the second layer. You will hear a slight click.
Next install the fan into the top layer of the case. I try to make sure the wire connectors are farthest away from the IO pins so that the wires can wrap around and stay out if the way in the case.
After that connect the fan pins to the raspberry pi based on desired fan output.
Then place the top and bottom layers on to the half built case and use the screws to secure it. Make sure the recessed nuts go into the top of the case and screws go in through the bottom.

Once everything is tightened down you are ready to install your memory card and enjoy your raspberry pi!
Video Review:
Links:
- Raspberry Pi 3 Model B+: https://amzn.to/33vHIMR
- 32GB MicroSD Memory card: https://amzn.to/2NlfQVR
- smraza SW33: https://amzn.to/2CfRPJk
- smraza SW20-BF: https://amzn.to/2WOcQ7A
Video review: https://youtu.be/ACLc_4CasM4
*All links on this page are affiliate links that help provide resources to keep providing great content.
Nice post. I learn something new and different on blogs like this that I stumble upon. Alway some useful info to read. Most articles are pretty woeful, this this is great. Did you hire a writer or hunt down the information yourself? Great Job in any case!!
Very informative looks great. Saved as a favourite, I love your website!
Like!! I blog frequently and I really thank you for your content. The article has truly peaked my interest.